How to Remove Shingles in 8 Easy Steps
How to Remove Shingles in 8 Easy Steps
Replacing old roof shingles is integral to maintaining your home’s structural integrity. It also adds value to your property and enhances its curb appeal. However, doing it yourself requires some basic knowledge of roofing and safety precautions. These are necessary to avoid causing more harm than good.
Whether replacing damaged or outdated shingles or simply re-roofing your home for a fresh look, our guide will help you get started safely and efficiently.
How to Remove Shingles
Get rid of shingles quickly in just 8 steps. Here’s how:
Wear Safety Gear
Before starting the process, ensure you wear the proper safety equipment. Some of the safety gear to consider include:
- Hard hat
- Safety glasses
- Work gloves
- Non-slip shoes
You can also wear long pants, long-sleeved shirts, and knee pads for extra protection.
Safety gear such as gloves can help you grip the shingles well and prevent your hands from slipping. Likewise, knee pads can support your body weight when working on roof slopes or the bottom edge of the roof.
Prepare the Area for Work

The preparation of the working areas should be addressed chiefly as most homeowners rate it as a waste of time. However, this step is crucial as it can ensure the safety of the workers and prevent any damage to your existing roof. You can begin by removing any gutters, drains, and downspouts.
You can obtain a building permit before starting the roofing project to ensure you comply with local regulations. If you need help understanding the requirement, you can visit roofing and home centers that explain all the necessities for a successful DIY shingle removal process.
You can also secure the area around the roof and take measures to protect yourself from falling off. You can install a safety harness system if you are working on a sloped surface or if the ground beneath has rocks, shrubs, or other sharp objects.
Inspect Your Roof
Before starting the shingle removal process, you must understand how to inspect your roof thoroughly to determine its condition. You can check if the roof sheathing is in good condition. If there are missing or damaged boards, you need to replace them with new ones to ensure that the roof can bear the weight of new shingles.
Dismantle the Roof
Start by cutting the asphalt shingles along the roof line and removing the ridge caps. Take caution while cutting to avoid damaging other shingles and potentially causing harm to the roof’s integrity.
Once complete, remove all ridge vents, drip edges, roof jacks, fascia boards, chimney flashings, gutter flashing, and any additional accessories from the roof.
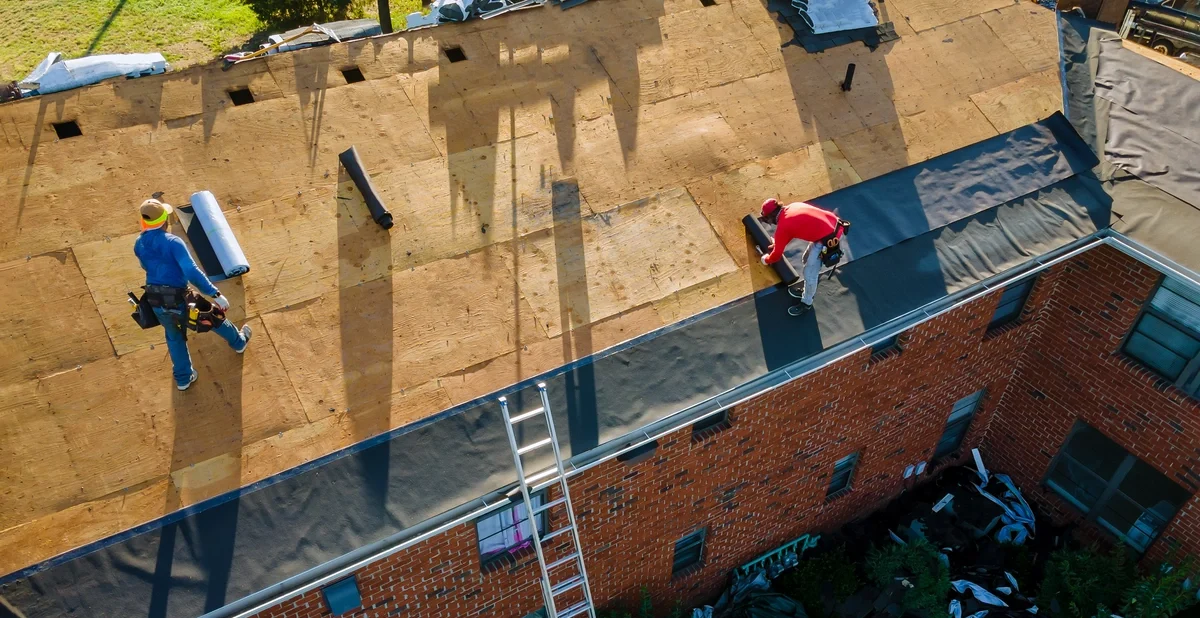
Remove the Old Shingles
You can remove the existing shingles using a garden fork or a metal hook to scrape the old shingles from the roof. Start from the top corner and work your way down to the bottom. If you come across any protruding nails, you can use a pry bar or a small hammer to remove them.
You can continue to remove roof shingles until you reach the roof jack and flashing. However, ensure all the shingles are removed properly without damaging other parts, such as the plumbing vents.
Although you can use other tools, such as a roofing shovel, to remove the old shingles, a garden fork is the best. Its long handle and sharp edges can make it easier to scrape away the asphalt shingles without damaging the sheathing beneath.
Dispose of Old Shingles

Once you remove the old shingles, you can dispose of them properly. You should avoid throwing them away in your backyard or a nearby dumpster, as most places do not allow the disposal of asphalt shingles.
You can contact your local municipality to determine the best way to dispose of your old shingles. They can help you find a certified recycling facility to recycle old shingles safely.
Install New Shingles
To begin placing new shingles, you can lay down a fresh underlayment of roof felt. This is a crucial step to ensure proper drainage and long-lasting results. After this step, it’s time to install the starter course of shingles at the bottom part of the roof. Each shingle must be nailed securely to keep it from shifting or coming loose in harsh weather conditions.
Next up is the shingle laying process. To create an aesthetically pleasing and secure roof, ensure each shingle is precisely aligned in a staggered formation. Galvanized nails and a roofing hammer will keep the shingles firmly in place.
In cases where stray shingles exist, consider using a utility knife to professionally cut them into shape, ensuring that everything lines up smoothly. You can contact a design center to help with unique designs to increase your home’s aesthetic appearance.
Clean Up the Roof
After installing new shingles, it’s time to give your roof a clean sweep. You can choose between using a broom or shop vac to eliminate any leftover debris. It is essential to ensure that your newly-installed shingle roofs and valleys are free of dirt, dust, and gravel. These may cause harm to your roof structure if left unchecked.
Ensure that the exposed nails or flashing around the roof deck and eaves are sealed properly with sealants designed for this purpose. We recommend doing so as soon as you can after installation to ensure the longevity of your new roofing system.
DIY Your Shingle Removal Process Today
Removing shingles alone can be lengthy, but proper planning and safety measures can complete the task successfully. To ensure success, you must clearly understand how to remove shingles correctly and take all necessary precautions. This includes thoroughly inspecting your roof, carefully dismantling it, and removing the old shingles before installing new ones.
Remember, each step is crucial and should be noticed. If you feel overwhelmed or need more tools or experience to perform the job effectively, we strongly recommend enlisting the help of a professional roofing contractor. For top-notch roof services, look no further than Rapid Roofers. Contact us today to tackle all your roofing needs efficiently and effectively.

Comment (0)